
Accelerator version 6.1.4.0 makes deploying WPF applications to multiple environments much easier and now generates scripts to automate and standardize the deployment process. Once configured, a developer can deploy to multiple environments by running a .bat file. This can be further automated by using 3rd party products such as TeamCity
This documents contains the instructions to configure the deployment scripts.
Refer to Instructions for creating deployment scripts in systems generated prior to version 6.1.4.0 if your system was generated prior to Accelerator Version 6.1.4.0.
Refer to WPF Click Once Deployment - Setting Minimum Required Version Automatically if you want to force your users to upgrade when a new version is available.
Steps:
1) Verfiy the WPF Click Once Properties
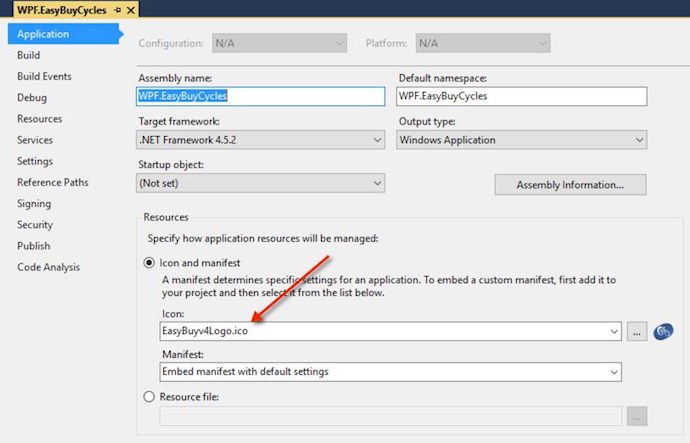
- Under WPF Properties, Click Application on the left and set the main icon.
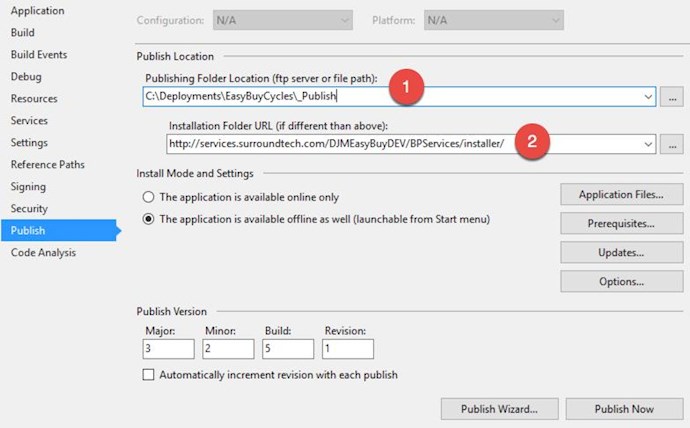
- Click on Publish on the left hand side and set the Publishing Folder Location (1). This location will need to match the DeploymentFolder variable in the Deployment Script.
- Set the Installation Folder URL for your Development Environment. This is URL of the installer folder within IIS. This must match the EnvID1InstallationFolderURL variable in the Deployment Script.
- Click on the "Updates..." button. Verify that the settings look like this:
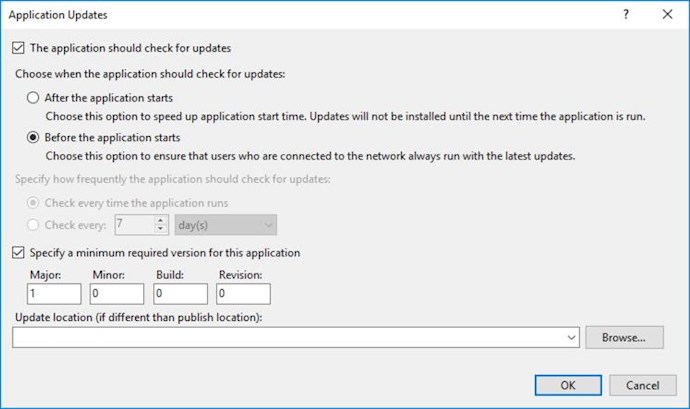
- Hit "Ok" to close the Dialog Window.
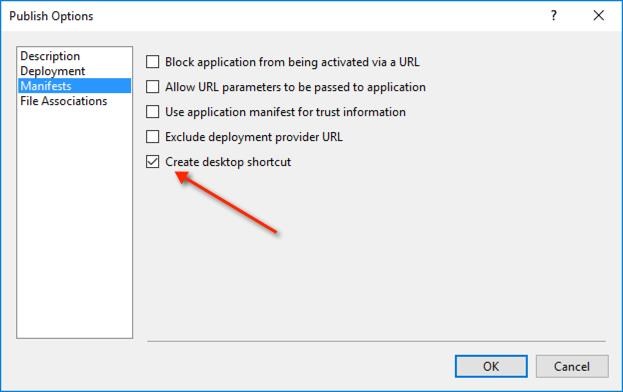
- Click on the "Options..." button.
- Make sure the "Create desktop shortcut" is clicked
2) Add Additional Icons for all Environments.
- You may want a different icon per environment. If you do, you need to add all Icons under your WPF.{Solution} Project
3) Create a Certificate for each Environment
- Under WPF Properties, Click Signing on the left hand side.
- Create a test certificate for each environment you have. You will need to rename each certfifcate to this naming standard: WPF.{SystemName}.{EnvironmentID}.pfx
- You have the option to specify a password. If you do, use the same password for all certificates.
- After you create and rename the certificates for each environment, click the "Select from File..." button and select your development certificate.
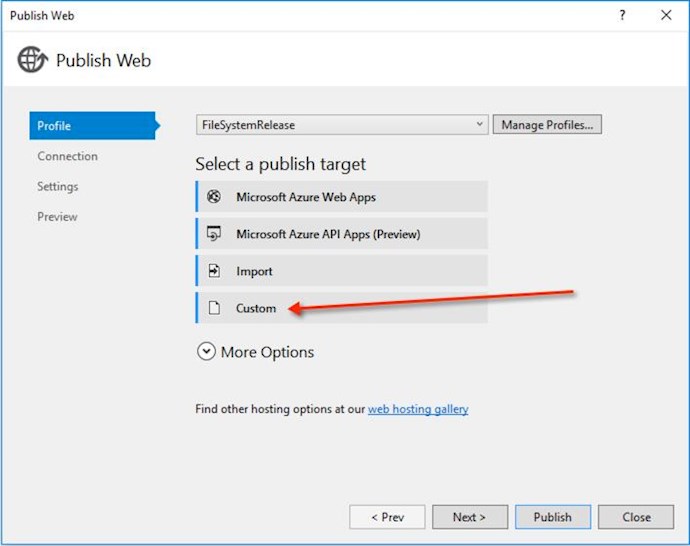
4) Create a Publish setting for your BPServiceHost
- Right click on your BPServiceHost Project and click "Publish"
- Create a new custom Profile. Call it "FileSystemRelease".

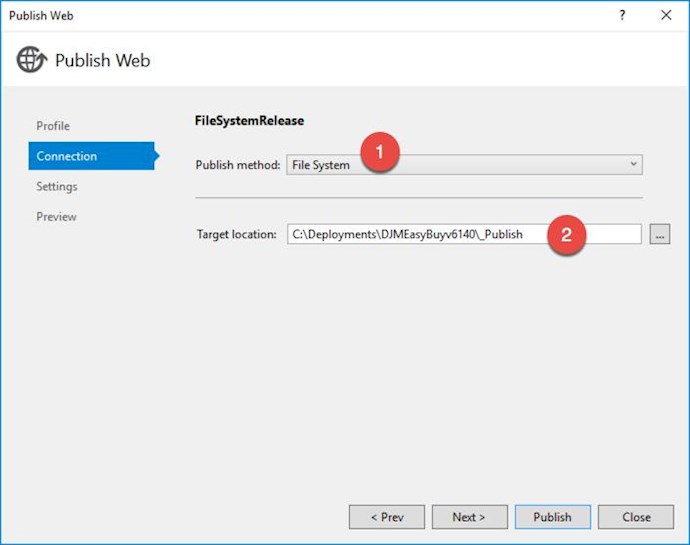
- Select the Publish Method "FileSystem" (1)
- Select the Target Location. Set this to the Publish folder location you specifed earlier in the Default Standards Configuration Editor (2).

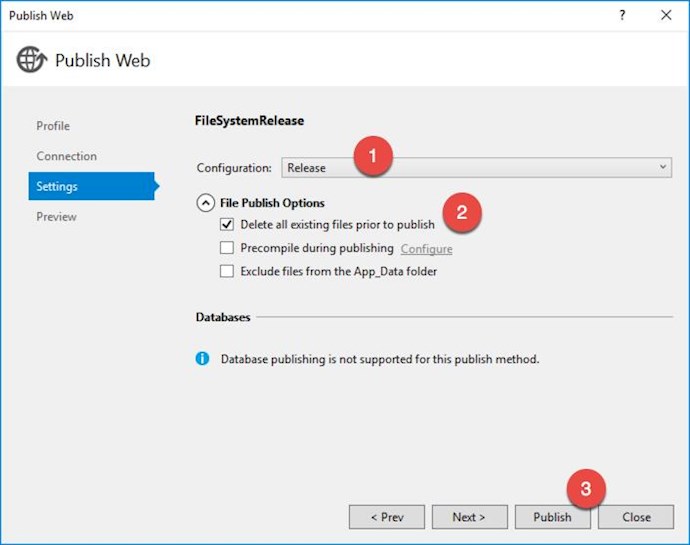
- Set the Configuration to "Release" (1)
- Click the "Delete all existing files prior to publish" (2)
- Click the "Publish" button (3)

Refer to Configuring Deployment Scripts to complete the Deployment Script Setup.
